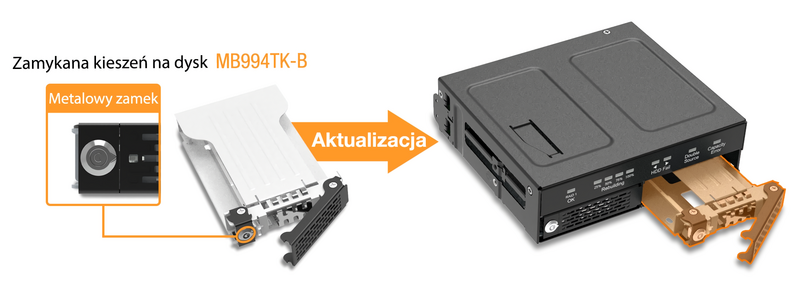
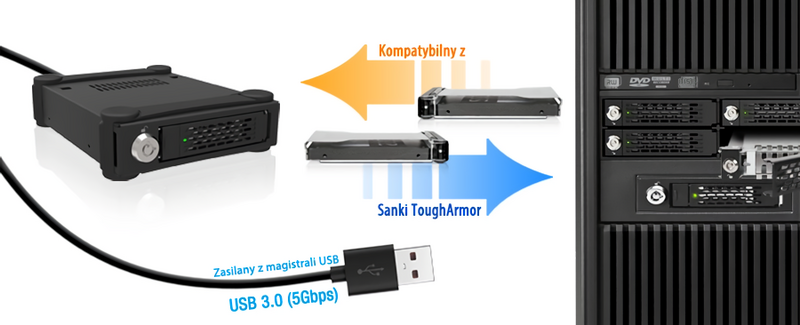
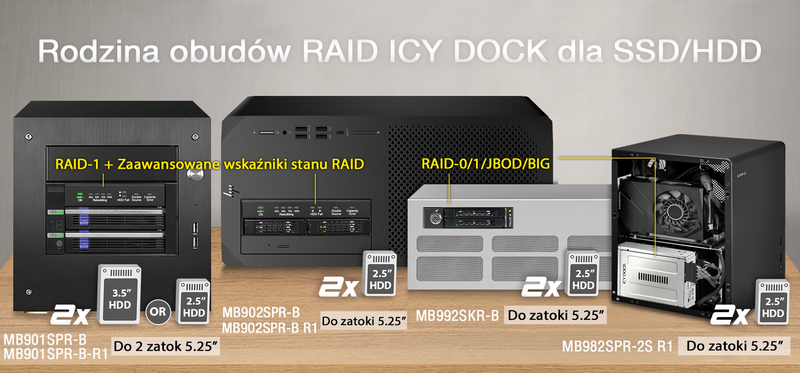
| Which FatCage MB902SPR is right for you? | ||
| Model | MB902SPR-B | MB902SPR-B R1 |
| Support Modes | RAID 1 | RAID 1 & JBOD |
| RAID Mode Switch | N/A | Yes |
| Difference | No JBOD function and required to use advanced erasing software or DOS commands to erase the RAID table written on the drives. | Support JBOD mode, which allows you to see two individual drives and quickly erase the RAID table on the drive without using advanced erasing software or DOS commands. |
| Opcjonalne certyfikaty dostępne dla ToughArmor RAID MB902SPR-B | |
| TAA | Zgodność z Trade Agreements Act |
| UL | Certyfikacja standardów bezpieczeństwa |
| UL94 | Palność materiałów z tworzyw sztucznych |
| FCC | Zgodność z przepisami Federal Communications Commission |
| Szeroki zakres temperatur | MIL-STD-810H - Method 501.7 & 502.7 |
| • |
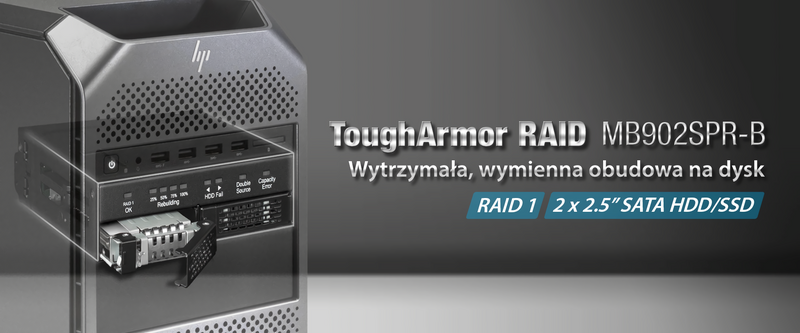
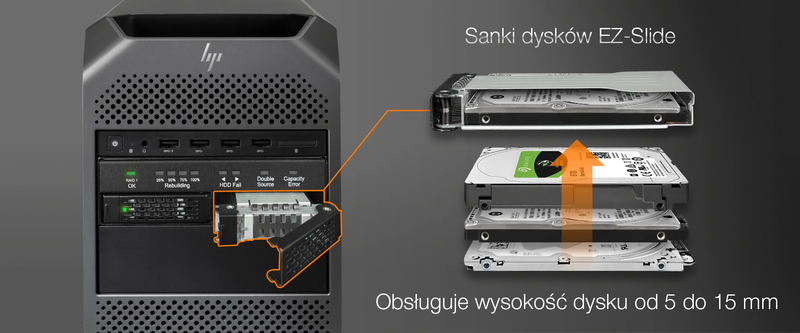
Wsparcie dla dwóch dysków 2,5" SATA o wysokości 5-15mm
|
| • |
Instalacja w pojedynczej zatoce 5,25"
|
| • |
Przesył danych do 6 Gbps
|
| • |
Wbudowany kontroler RAID 1 JMS562
|
| • |
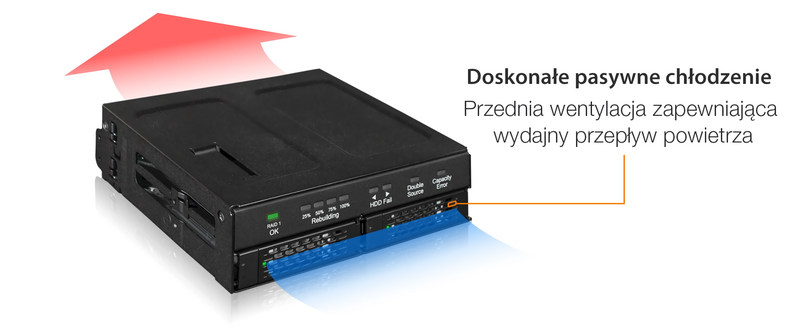
Czytelne wskaźniki stanu pojedynczych dysków oraz macierzy
|
| • |
Zabezpieczenie antywibracyjne redukujące hałas oraz zabezpieczające dyski
|
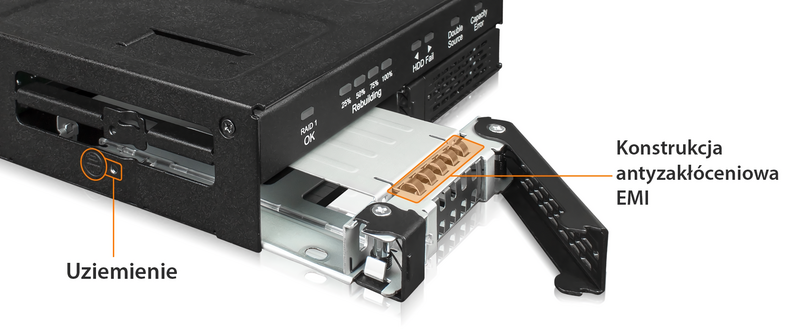
| • | Uziemienie EMI chroniące nośniki |
| • |
Zatrzaski Eagle-Hook zapobiegające przypadkowemu wypięciu się dysku
|
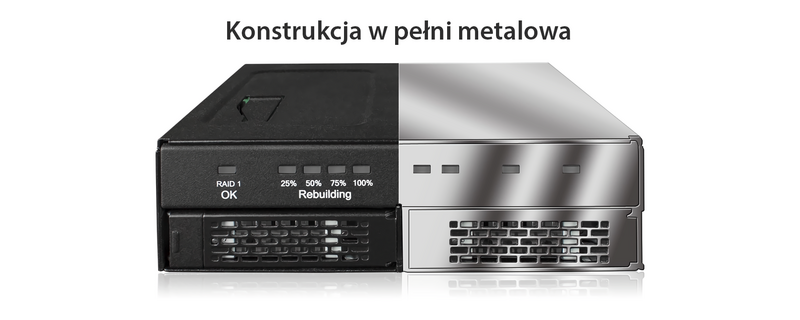
| • | Wzmocniona, metalowa obudowa zaprojektowana z myślą o systemach medycznych, militarnych oraz zastosowaniach serwerowych |
| • |
5 letnia gwarancja producenta
|
P: Czy istnieje znany problem ze zgodnością pomiędzy MB902SPR-B a dyskami HDD/SSD SATA?
O: MB902SPR-B wykorzystuje chipset JMS562 i został zaprojektowany tak, aby był kompatybilny z większością dostępnych na rynku dysków HDD i SSD SATA. Aby pomóc klientom w wyborze dysków, prowadzimy listę kompatybilnych dysków opartą na zweryfikowanych opiniach klientów oraz wewnętrznej walidacji.
Należy pamiętać, że kompatybilność dysków może być również zależna od kontrolerów hosta, chipsetów lub jakości kabli. Dyski uznane za kompatybilne zostały zweryfikowane w określonych środowiskach, ale nie gwarantuje to 100% zgodności ze wszystkimi konfiguracjami systemowymi.
Jeśli napotkasz potencjalny problem z wykrywaniem lub stabilnością, zalecamy wykonanie następujących kroków:
Dla najlepszych rezultatów zalecamy wybór dysków z listy kompatybilnych oraz zawsze używanie dwóch identycznych dysków podczas tworzenia macierzy RAID.
Q: Does MB902SPR-B support the new SATA 3.3 Power Disable feature (PWDIS)?
A: The MB902SPR-B does not support the SATA 3.3 PWDIS feature. If you install the SATA HDD/SSD with PWDIS in MB902SPR-B, the drive will not spin, and the system won't detect the drive. See the list below for known SATA HDD/SSD with the PWDIS feature.
While we recommend to avoid using the SATA HDD/SSD with PWDIS, you can use the methods below to disable the PWDIS feature physically if you already purchased the drive:
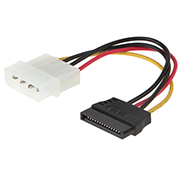
Method 1 – Using the Molex to SATA adapter or cable to disconnect the power to Pin 3 of the SATA power connector.
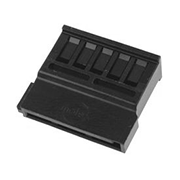 |
 |
|
| Molex to SATA Adapter | Molex to SATA Cable |
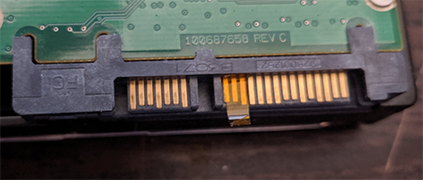
Method 2 – Placing Kapton tape on Pin 1-3 of the SATA power connector to isolate the 3.3V power, as shown below.
 |
 |
Please contact tech@icydock.com if the problem persists.
Q: What is RAID and what are different mode?
A: Note: Not all ICY DOCK enclosure support each of the RAID modes described below. For more information on the RAID modes that your enclosure supports, refer to the manual or the icydock.com product page.
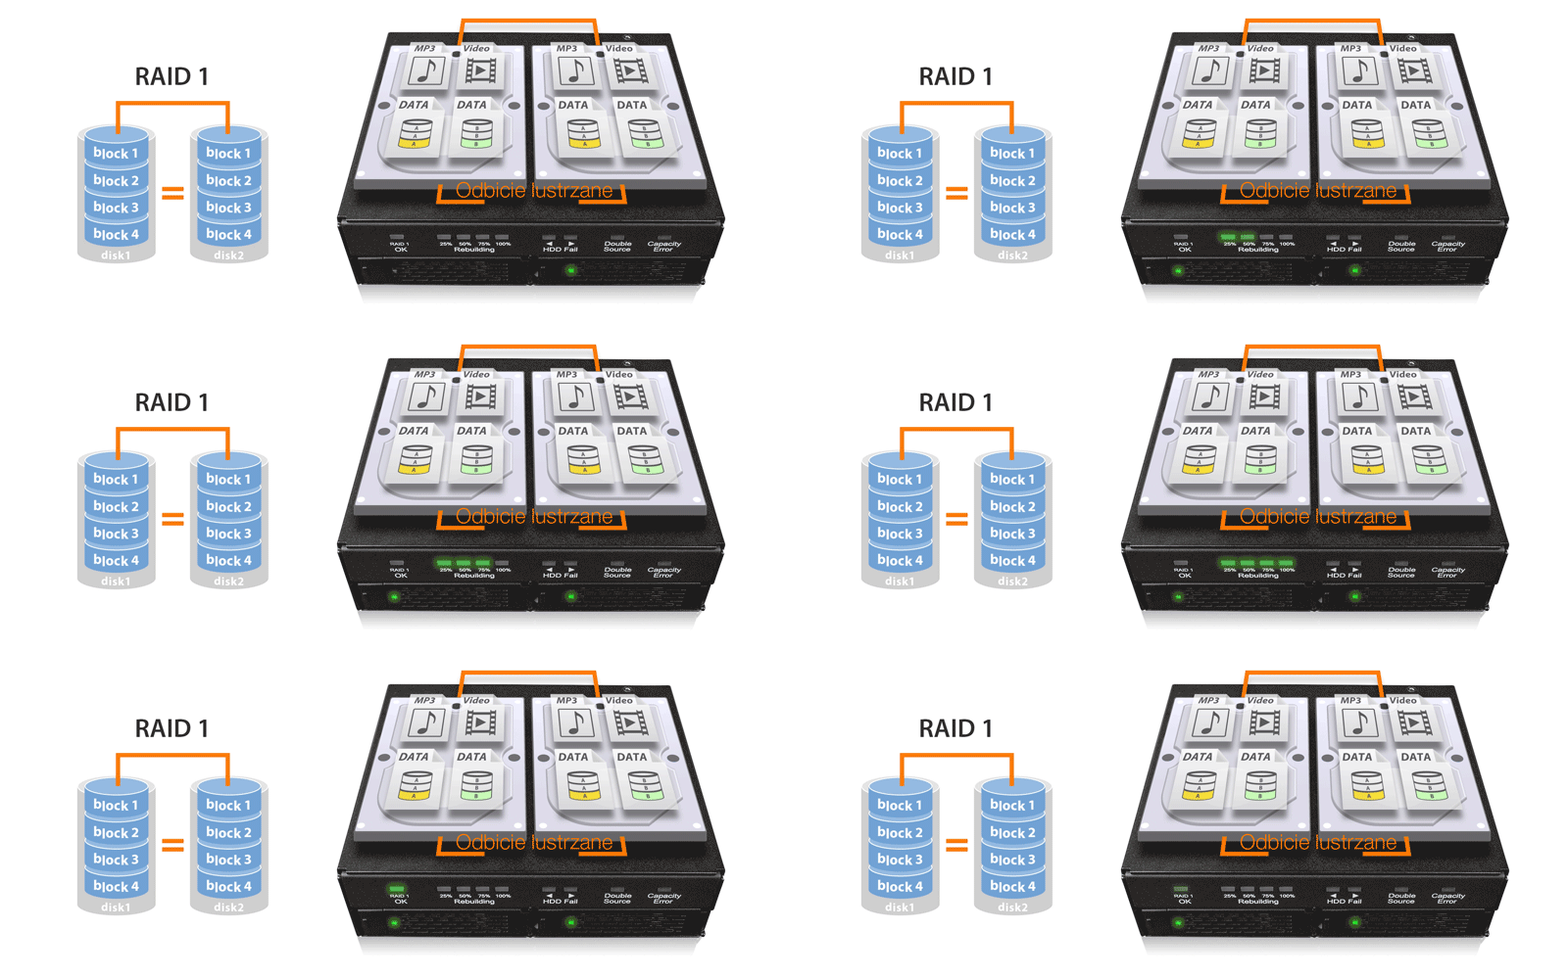
Redundant Array of Independent Disks (RAID) is a virtual disk technology that combines multiple physical drives into one unit. RAID can create redundancy, improve performance, or do both.
RAID should not be considered a replacement for backing up your data. If critical data is going onto a RAID array, it should be backed up to another physical drive or logical set of drives.
The following are terms that normally used in connection with RAID:
• Striping: data is split between multiple disks.
• Mirroring: data is mirrored between multiple disks.
• Parity: also referred to as a checksum. Parity is a calculated value used to mathematically rebuild data.
Different RAID levels exist for different application requirements.
Refer to the following table for the list of RAID modes offered by some ICY DOCK products:
| RAID MODE | Description | Operation | Advantages | Disadvantages | Recovery |
|---|---|---|---|---|---|
| RAID 0 | Striped disks | Data is split evenly between two or more disks. | Large size and the fastest speed. | No redundancy. | If one or more drives fails, this results in array failure. |
| RAID 1 | Mirrored disks | Two drives have identical data on them. | A single drive failure will not result in data loss. | Speed and size is limited by the slowest and smallest disk. | Only one drive is needed for recovery. |
| JBOD | Just a Bunch Of Disks | Any number of drives are accessed independently by the operating system. | Software RAID modes can be used. | Hardware RAID may have better performance. | N/A |
| BIG | Spanning or Concatenation | Data is written on one drive until it is full, and then the next drive(s) until it or they are full. | Creates a very large and simple array. | No redundancy. | N/A |
Q: How do I rebuild my RAID 1 array?
A:
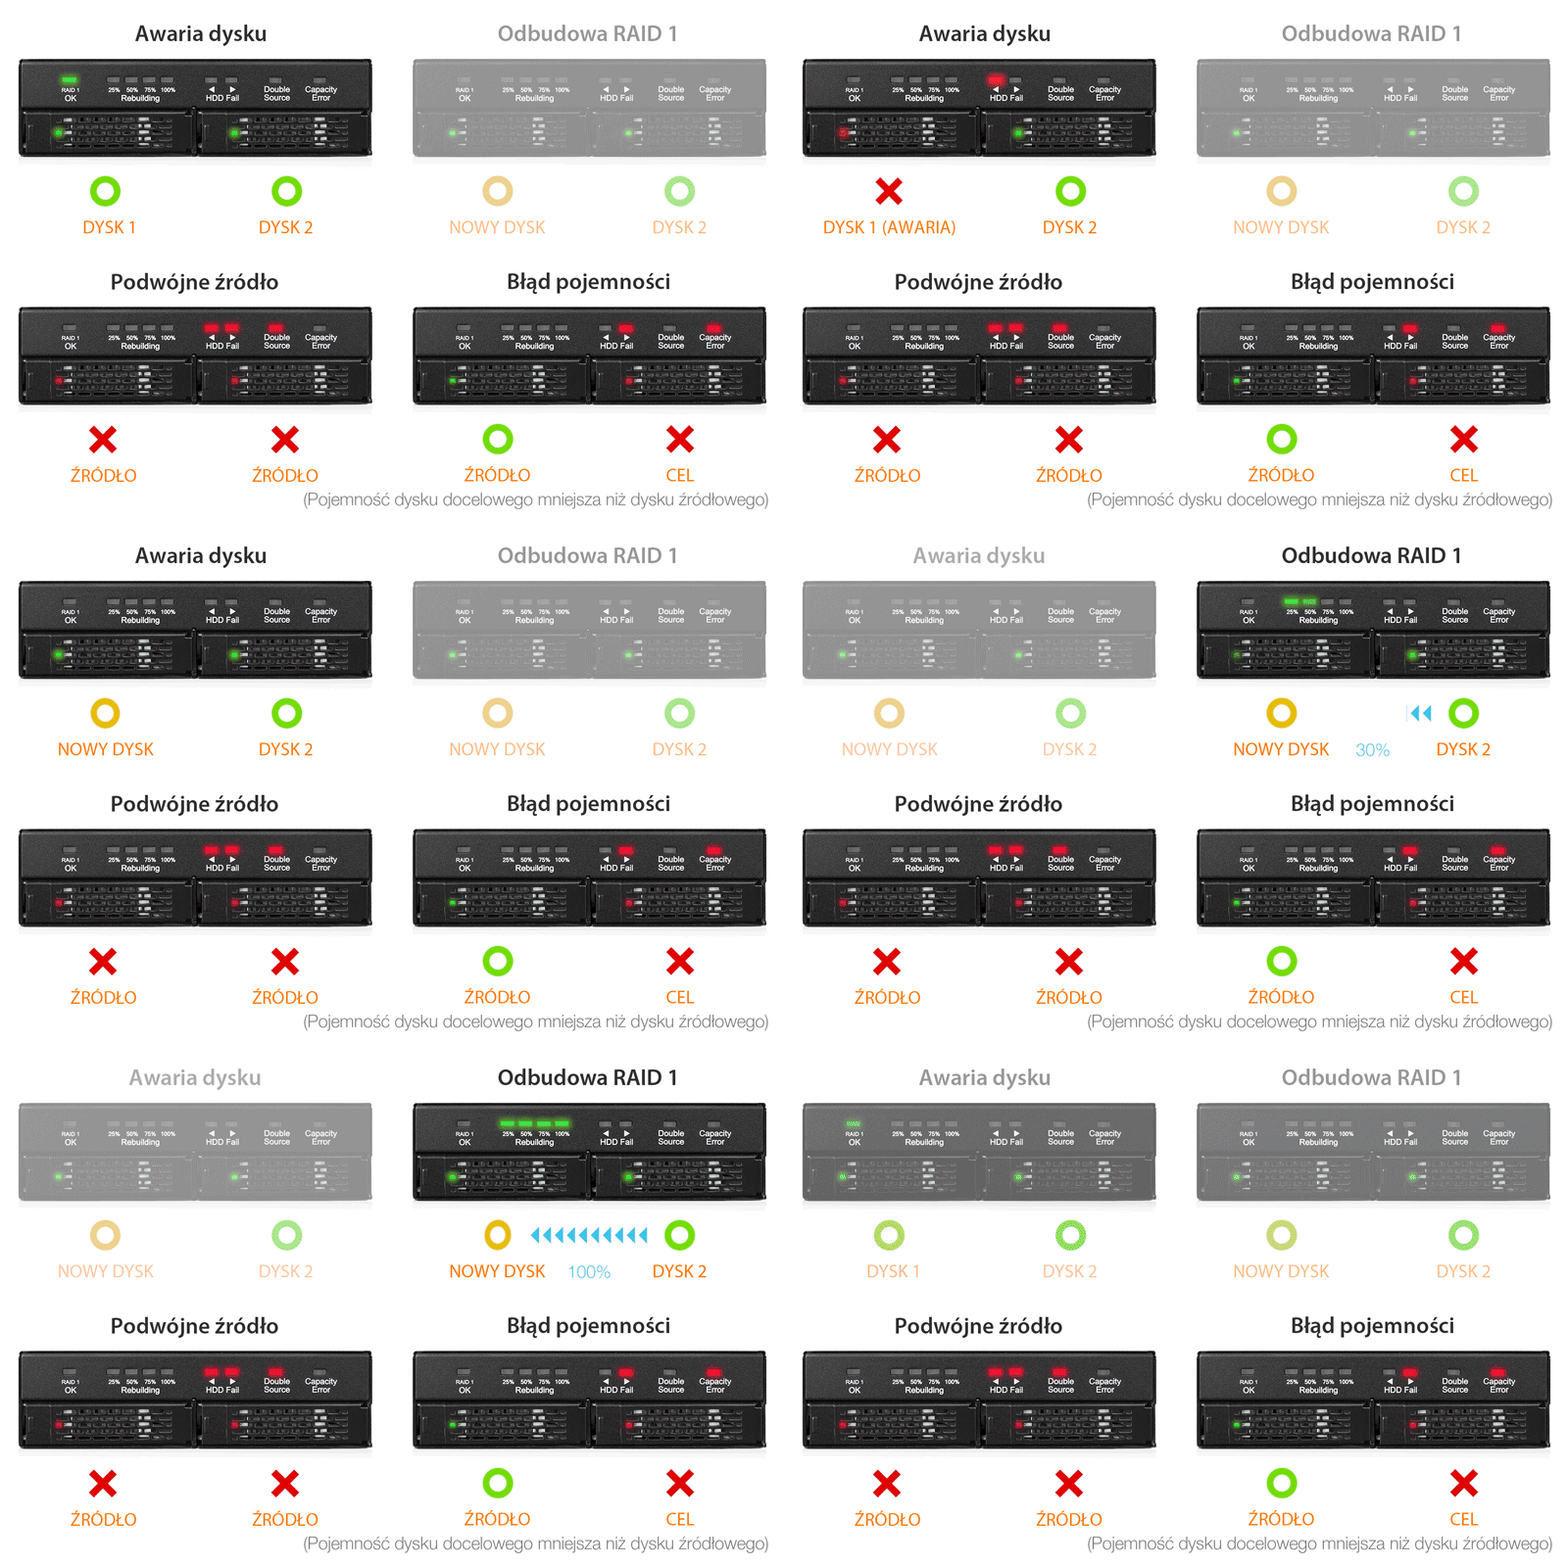
1.Determine which drive is operational by using the RAID monitoring software (if available) or test each drive individually on a different hard drive enclosure or by connecting each drive directly to a computer’s SATA port.
2.Replace the failed drive with an identical hard drive.
3.The array will rebuild and is accessible during the rebuilding process.
Note 1: It is recommended to use a new identical hard drive for the rebuild. To use a used drive, we recommend use Window’s DiskPart command to clean and format the used hard drive before you start rebuilding.
Note 2: Before you start the rebuilding process, make sure the replacement drive has no previous RAID table in it.
Q: I'm unable to format a hard drive previously used in RAID configuration and cannot delete the RAID table.
A:
It is required to perform low-level formatting to erase the RAID table written on the drive, which is not supported by Windows disk management. Please check HERE detailed instructions on how to erase the RAID table.
Q: Everything is connected, but nothing is working. What do I do?
A:
When you troubleshoot issues with a hard drive enclosure, there are some quick tests that you can complete to rule out potential problems. You can test to make sure that the following components are working correctly and are not the source of the issue:
• Cables (USB, SATA, SAS, Mini-SAS, etc)
• Hard drives / SSD (M.2 drive, 3.5'' hard drive, solid state drive, etc)
• Hard drive enclosure (converter, mobile rack, cage, and external enclosure)
To test your setup components, try the following:
• Connect the hard drive directly to the system or use the hard drive in another enclosure to see if the problem is with the hard drive.
• Use the cables, hard drives, and hard drive enclosure in another setup to see if the problem is with the components or the setup.
• Use a different cable, hard drive, and hard drive enclosure in your setup to see if the problem persists. Ideally, you should test a component that you know works in another setup.
When you test the hard drive and hard drive enclosure, it is recommended that you do the following:
• To check Disk Management, press the Windows key + R, type diskmgmt.msc, and press Enter. Check to see if your hard drive is listed.
• If the hard drive is listed with unallocated space, the hard drive needs to be reformatted. Right-click unallocated and click New Simple Volume. Follow the on-screen instructions to complete the reformatting.
Note: Formatting a hard drive erases all of the data on it. Make sure that you back up all of your data before you reformat the hard drive.
• If the hard drive is listed as healthy but does not have a drive letter, for example, C:, right-click healthy and click Change Drive Letter and Paths. Click Add, assign a drive letter, and click OK.
Note: A formatted hard drive will not show up in Computer or My Computer until it has a drive letter assigned to it.
For additional help with setting ICY DOCK RAID enclosure, please contact us by email.
Q: I feel that the drive tray's upper and lower metal spring is stuck when inserting the drive tray. What should I do?
A: Remove the drive tray from the enclosure and reinsert the tray without putting excessive pressure on the metal mesh sheet in front of the tray. Excessive force on the front metal mesh sheet may bend the top and bottom metal spring, causing difficulties when inserting the drive tray. Therefore, please do not forcingly insert the drive tray when this happens as it may cause damage to the metal spring.
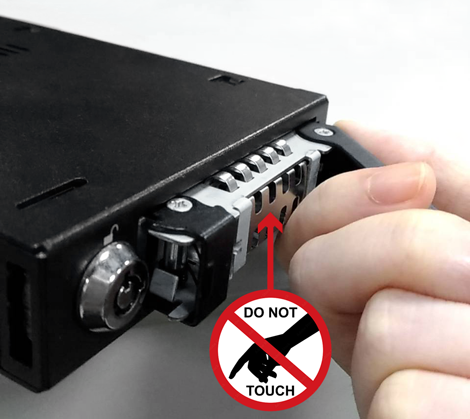 |
| Please DO NOT put excessive pressure on the metal mesh sheet as shown |
Q: Can I remove any hard drive from the MB902SPR-B RAID array, place it into a drive duplicator to copy data, and then return the hard drive back to the MB902SPR-B RAID array for continued use?
A: Any RAID array created through MB902SPR-B carries a unique RAID table, enabling the MB902SPR-B RAID chipset to recognize the RAID array information on the hard drive. This is crucial for data matching and RAID rebuilding in case of hard drive failure or data corruption. Removing a hard drive from the RAID array and copying data to it via a drive duplicator may corrupt the RAID table on that drive. This can lead to reading errors or a failure in RAID rebuilding process as the RAID chipset may no longer recognize it. As such, we strongly advise against removing hard drives from the MB902SPR-B RAID array for such purposes and also recommend not using the MB902SPR-B as a drive duplicator.
